¿Cómo combino varias filas en un solo correo electrónico?
En lugar de enviar correos electrónicos individuales, esta guía te mostrará cómo agrupar datos que pertenecen al mismo destinatario y enviarles un solo correo electrónico con una tabla que contenga toda la información.
Contents
- Disponible como un tutorial en video
- Paso 1. Asegúrate de que la columna “Para” en tu hoja de cálculo sea idéntica para todas las filas que quieres agrupar.
- Paso 2. Inicia una combinación de correspondencia y sube tu hoja de cálculo
- Paso 4. Envía un correo electrónico de prueba y luego envía la campaña
Disponible como un tutorial en video
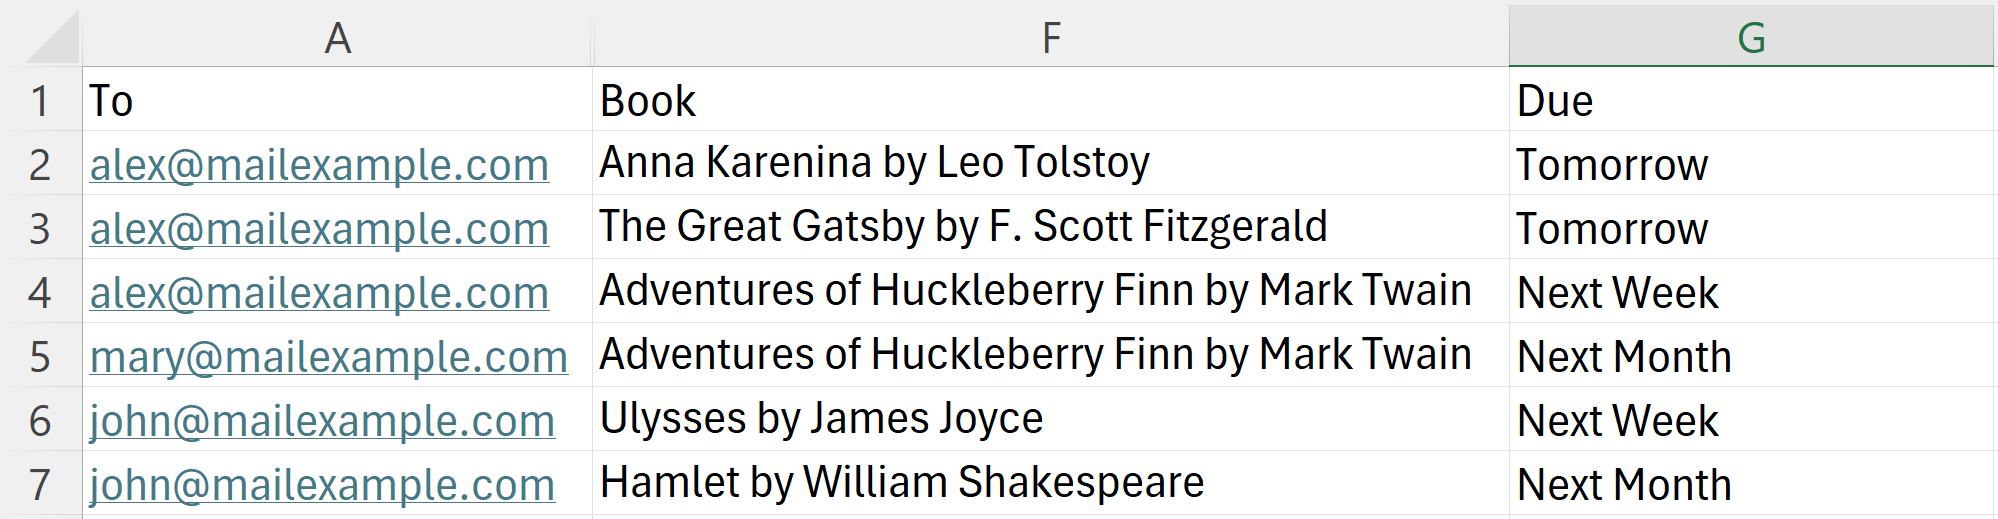
Paso 1. Asegúrate de que la columna “Para” en tu hoja de cálculo sea idéntica para todas las filas que quieres agrupar.
Agrega una columna a tu hoja de cálculo llamada “Adjuntos”. Agrega los nombres de los archivos en la celda para cada destinatario. Puedes agregar múltiples archivos separándolos con un punto y coma.
Paso 2. Inicia una combinación de correspondencia y sube tu hoja de cálculo
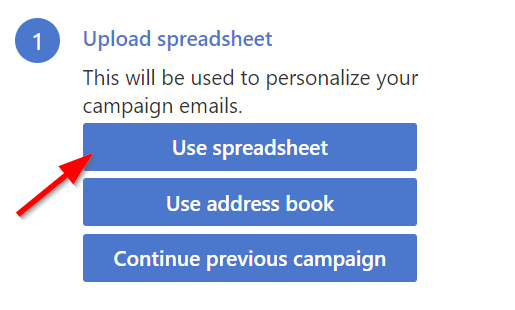
Suponiendo que has instalado SecureMailMerge y has iniciado el plugin desde el menú de Apps, verás la siguiente pantalla. Haz clic en el botón “Subir Hoja de Cálculo” y selecciona tu archivo de hoja de cálculo desde tu disco duro.
Paso 3. Activa el modo “muchos-a-uno”
Si hay varias filas en tu hoja de cálculo con el mismo destinatario de correo electrónico, aparecerá un mensaje preguntándote si deseas enviar un correo masivo tradicional o un correo masivo muchos-a-uno.
En el modo de correo masivo tradicional, cada fila se enviará como un correo electrónico separado. En el modo muchos-a-uno, todas las filas con el mismo destinatario de correo electrónico se agruparán y se enviarán como un solo correo electrónico.
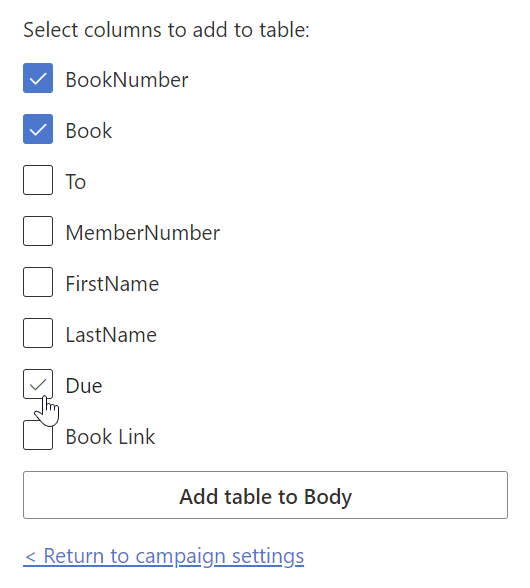
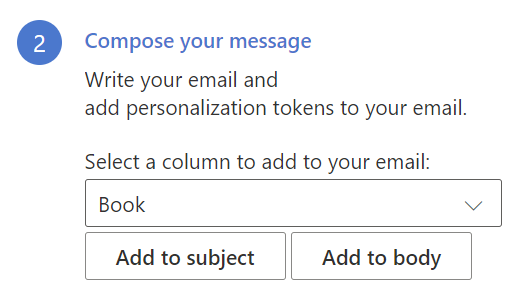
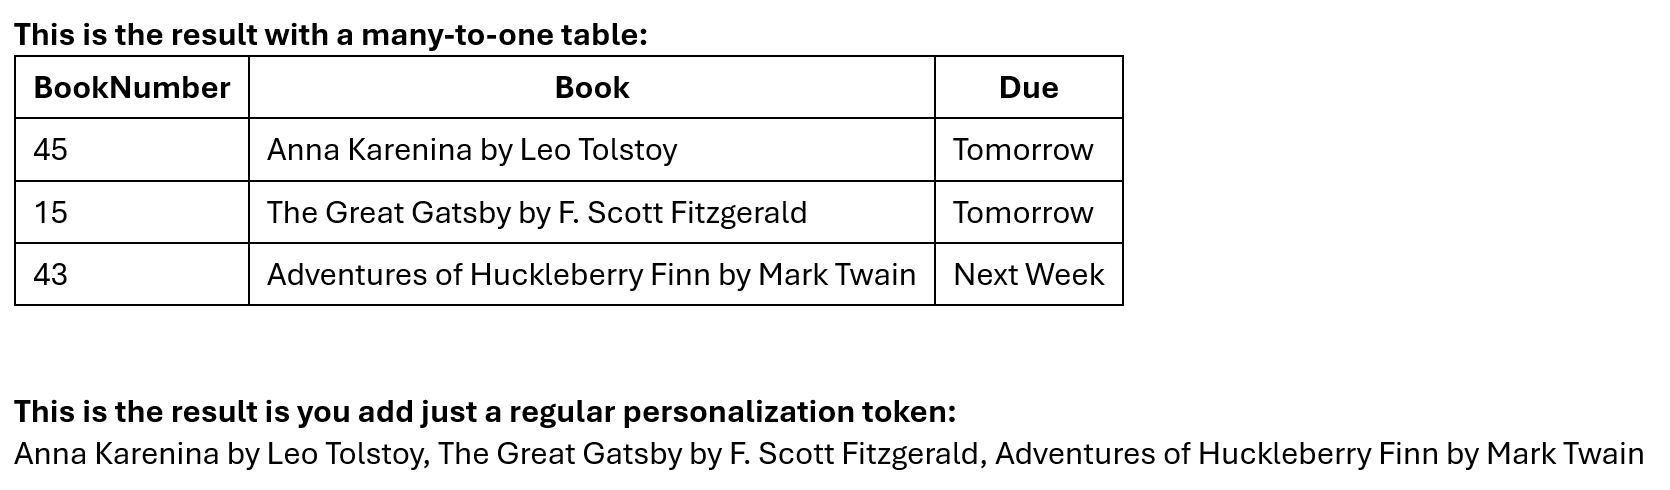
Cambia al modo muchos-a-uno y aparecerá un botón más abajo que te permitirá agregar una tabla a tu correo masivo.
Si en su lugar solo insertas un token de personalización regular (en modo muchos-a-uno) en lugar de una tabla muchos-a-uno, entonces los valores de todas las filas se insertarán como un solo texto largo separado por comas, excepto por las columnas especiales “Adjuntos”, “CC” y “BCC” que se combinarán inteligentemente (ver la siguiente sección).
Nota especial: Combinando adjuntos, CC y BCC a través de múltiples filas
Al usar el modo muchos-a-uno, SecureMailMerge combina inteligentemente ciertas columnas de todas las filas pertenecientes al mismo destinatario:
- Adjuntos: Todos los adjuntos únicos de cada fila se combinan en un solo correo electrónico
- Destinatarios CC: Todas las direcciones de correo electrónico CC únicas se fusionan
- Destinatarios BCC: Todas las direcciones de correo electrónico BCC únicas se fusionan
Esto significa que puedes organizar tu hoja de cálculo con múltiples filas por destinatario, cada una conteniendo diferentes adjuntos o destinatarios CC/BCC, y SecureMailMerge los combinará automáticamente.
Ejemplo: Múltiples adjuntos por destinatario
| Para               | Adjuntos             | CC              |
|--------------------|----------------------|-----------------|
| [email protected]   | contrato.pdf         | [email protected]  |
| [email protected]   | factura.pdf          | [email protected]|
| [email protected] | términos.pdf | |Resultado: John recibe un correo electrónico con los tres adjuntos (contrato.pdf, factura.pdf, términos.pdf) y ambos destinatarios CC ([email protected], [email protected]).
Desduplicación automática: Si el mismo adjunto o dirección de correo electrónico aparece en múltiples filas, solo se incluirá una vez en el correo electrónico final.
Por defecto, el modo muchos-a-uno solo se ofrece cuando se detectan direcciones de correo electrónico de destinatarios duplicadas en tu hoja de cálculo. Sin embargo, puedes forzar habilitar el modo de tabla muchos-a-uno desde las Opciones Avanzadas, incluso cuando todos los destinatarios son únicos.
Esto es útil cuando deseas usar la etiqueta {% table %} para renderizar filas de la hoja de cálculo como una tabla en cada correo electrónico, independientemente de si hay destinatarios duplicados. En este caso, cada correo electrónico contendrá una tabla con una sola fila de datos de la hoja de cálculo, pero aún puedes aprovechar las potentes características de renderizado de tablas para formatear tus correos electrónicos de manera atractiva.
Paso 4. Envía un correo electrónico de prueba y luego envía la campaña
Luego puedes proceder a enviar un correo electrónico de prueba, para verificar que tus tokens de personalización están funcionando como se espera.
Ten en cuenta que la primera fila de la hoja de cálculo se utilizará para el correo electrónico de prueba, así que solo verás las características de muchos a uno si ese destinatario tiene varias filas asignadas.
Cuando estés satisfecho, puedes enviar la campaña a todos los destinatarios.